Interferometric Testing
Interferometric Testing
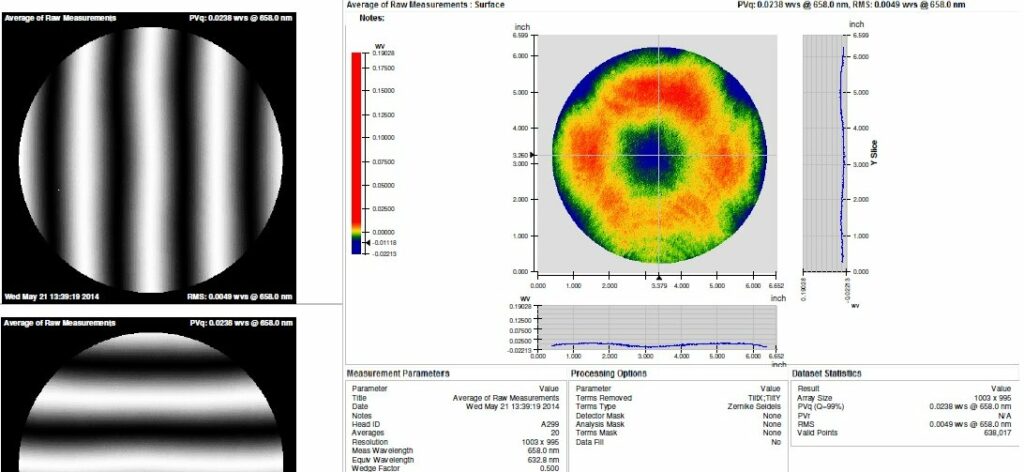
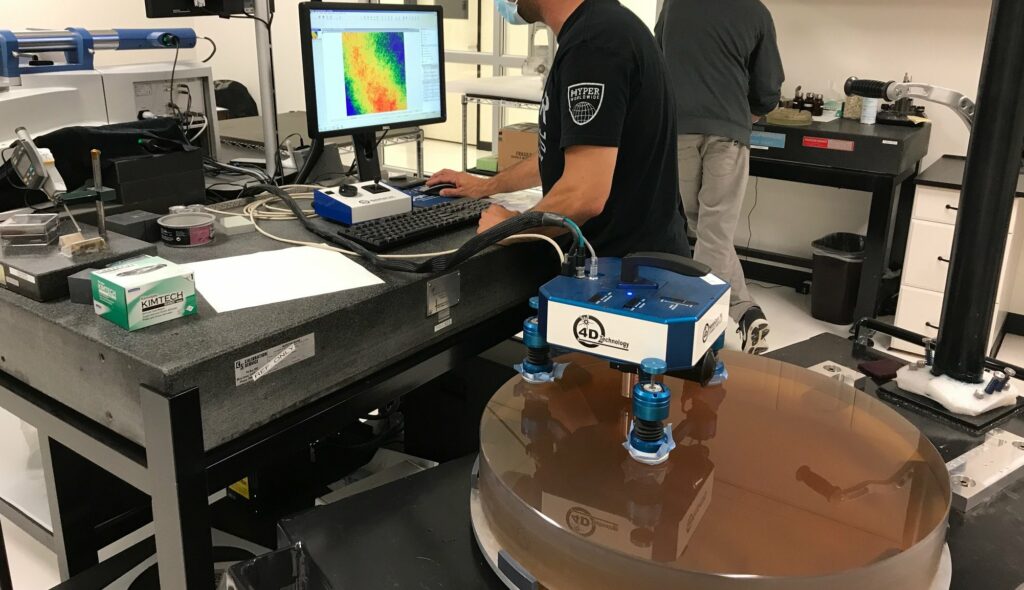
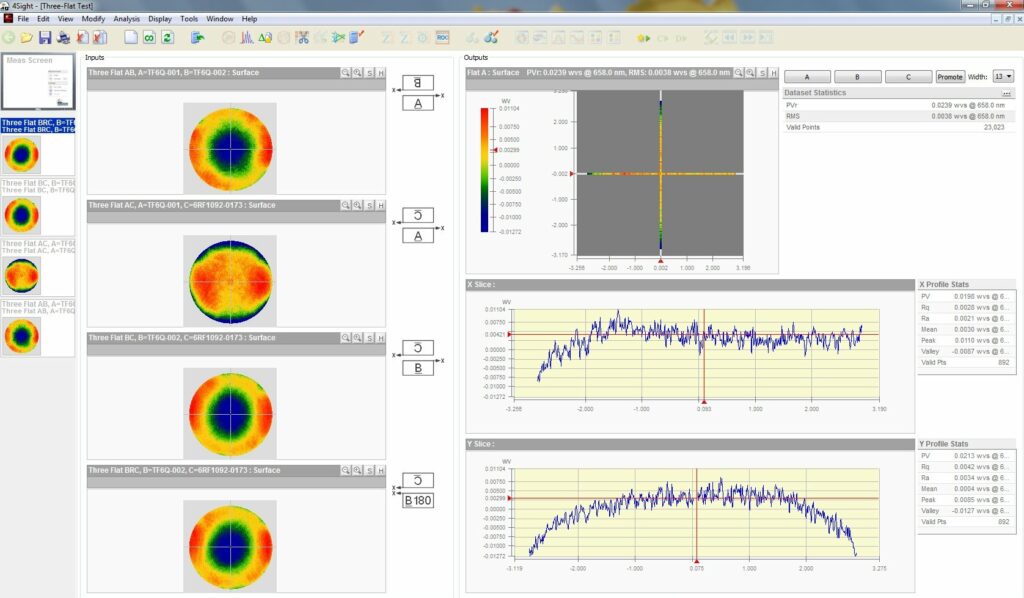
Precision Optical utilizes a variety of interferometers (632.8nm, 1064nm) and interferometric techniques in order to meet the demands of the optics industry. From static fringe analysis on the shop floor, to ultra-precision measurements using both dynamic and temporal phase-shifting interferometers, Precision Optical relies on its interferometry to measure various optical specifications. Surface figure, irregularity, radii, transmitted wavefront error, aberrations, 90° angles, beam deviation (transmitted and reflected), wedge magnitude/parallelism, slope magnitude, and homogeneity testing are just some of the analysis that Precision Optical can perform. We can import/export the following dataset formats: 4D (.h5), Wyko/Veeco (.opd), Opticode (.map), MetroPro (.dat), CODE V (.int) or ESD, HDF4 (.HDF).
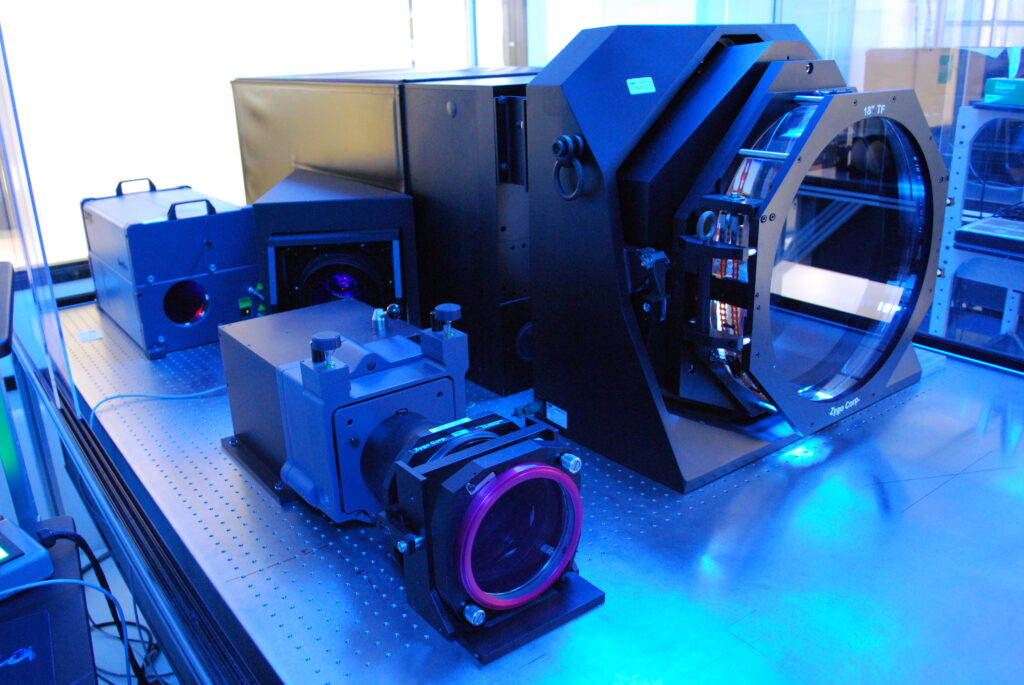
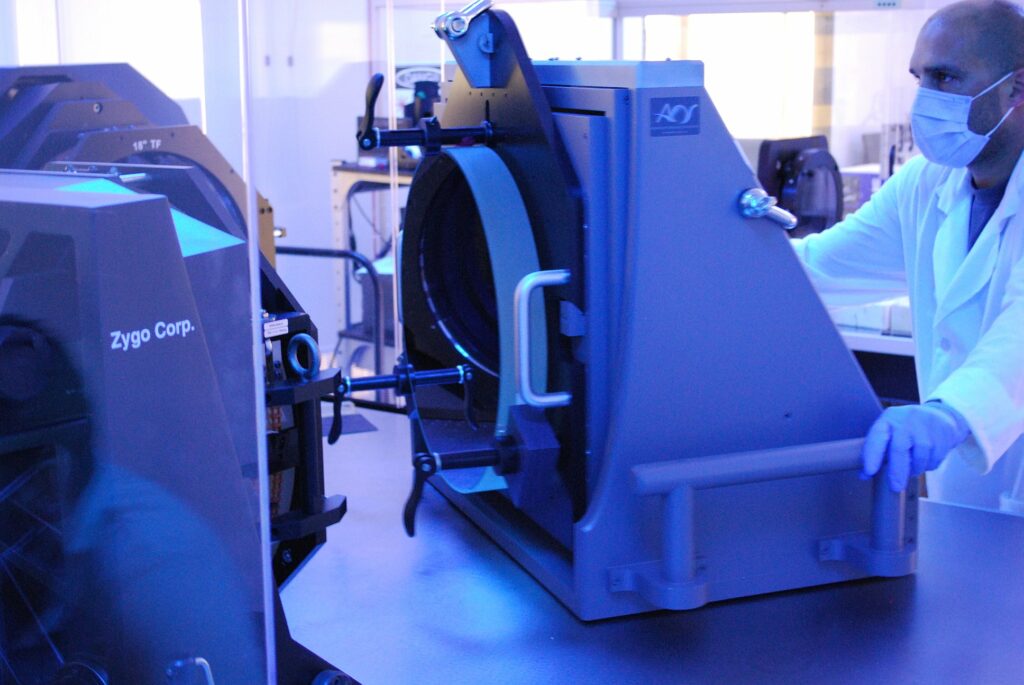
Precision Optical manufactures the majority of its own transmission and reference flats to better than lambda/50. With our 457.2mm reference flat we have the capability of measuring transmitted wavefront error and performing homogeneity testing over large apertures. We also have an AOS custom electronic tip/tilt mount capable of holding up to 660mm diameter optics. We manufacture our own tip/tilt plates and tooling for custom applications. We are very familiar with setups including: single-pass and double-pass prism testing, 90° internal and external measurements, parallelism, beam deviation, multiple-region analysis and homogeneity testing. RMS simple repeatability typically is on the order of lambda/10,000 and angular accuracy is ± 0.1 arc seconds.
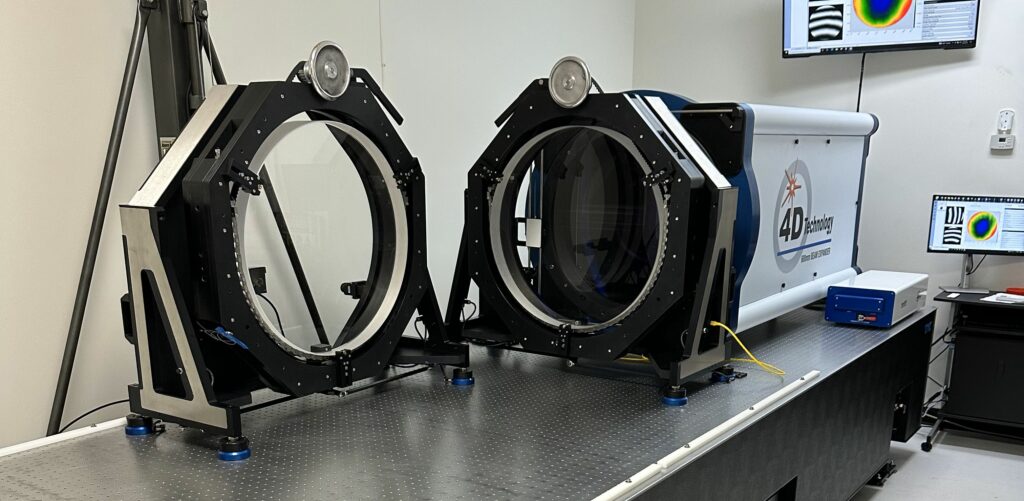
Equipment |
|
|
|
